
Thank you, Ashley, for letting me hang out here today!
I want to share with you one of my favorite projects from my blog.
It’s a DIY Headboard Towel Holder!
![IMG_5140[4] IMG_5140[4]](http://www.beneathmyheart.net/wp-content/uploads/2012/02/IMG_51404_thumb.jpg)
I knew when I saw this headboard and footboard set at Goodwill that I had to buy them.
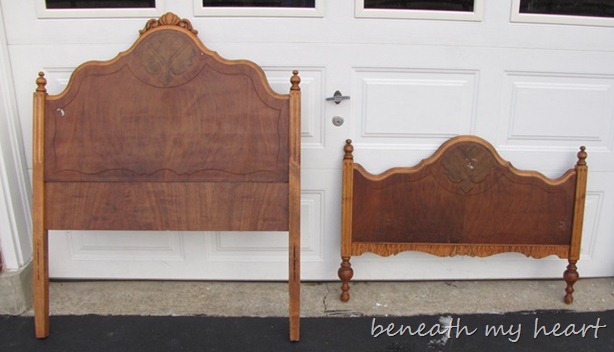
I happily paid $25.00 for the set and went home.
I had been trying to come up with a creative towel rack for the guest house bathroom in our previous home. The guest house was a little more cottage-y than our house, so I wanted to decorate it with more of a vintage feel.
So here’s what I did…
After holding both the headboard and footboard up against my bathroom wall to see which one “fit” best, I decided to go with the headboard. My bathroom in the guest house was not very big, but this headboard was going to make a big statement!
First I had to cut the legs off the headboard, so I used my hubby’s Skil Saw.
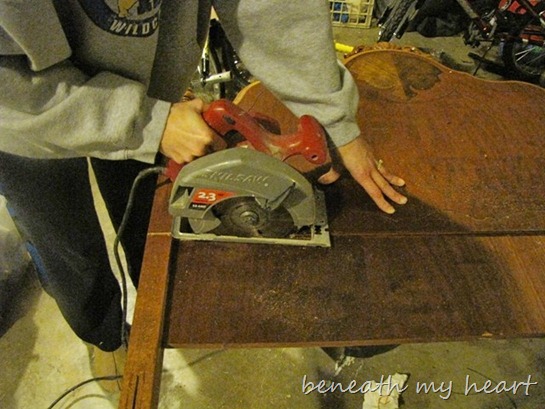
She was lookin’ good already!
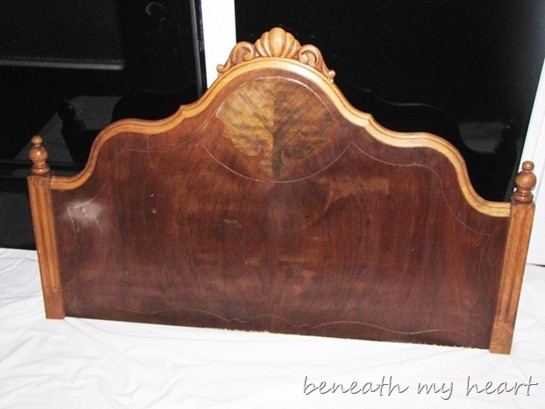
Now some of you may think I am crazy for painting this beauty. I know some of you would have left her alone. But I’m not sentimental like that. I needed her to be white, so white she would be!
Now I needed to prepare the surface to paint. Instead of sanding it with sandpaper, I used a liquid deglosser to do the trick. It is soooo easy. Just pour it on a cloth and wipe it all over the wood surface!

I let that dry, and then I began painting.
My paint of choice is this little quart of Valspar paint. It can be found over by the spray paint cans at Lowes. There is a sign above it that says something like “high performance” or “extremely durable” paint. The workers at Lowes suggested we use this on our kitchen cabinets and we did. We love it!
So I used a brush to paint in any of the grooves.


Then I used my roll brush to paint the smooth surfaces. (No I am not left-handed, I just needed my right hand to take the picture!)

Here she is after 3 or 4 coats…ahhhhh….
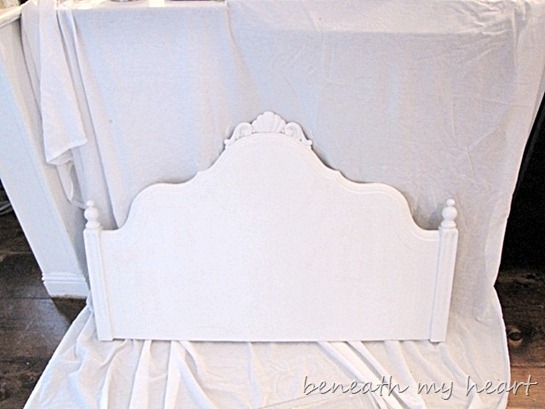
Here’s the hardest part of the process… let it dry. It’s very important to let it dry REAL good before sanding.
I always suggest eating some chocolate at this point.
After the paint was good and dry, I used my sanding sponge to sand the edges of the headboard.
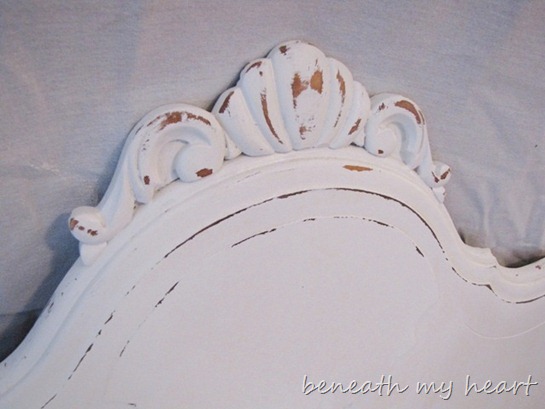
There’s no rhyme or reason to this step. Just sand as little or as much as you’d like to get the look you are after.
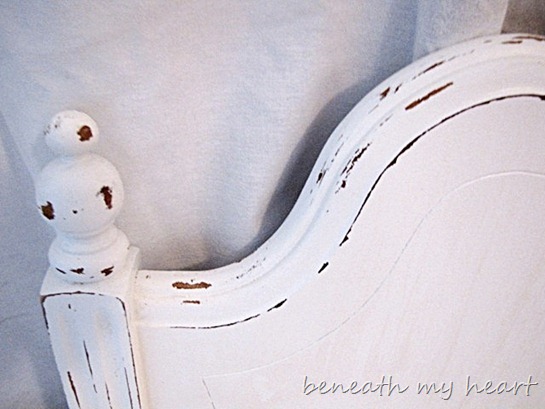
When I cut the bottom of the headboard off with my Skil Saw, it left a raw edge that needed a little work. I needed to fill an obvious groove in with some wood filler.

I just pushed the wood filler into the groove with my finger and the let it dry.

Then I used my sanding sponge to sand it to a smooth finish, and it was ready to paint.

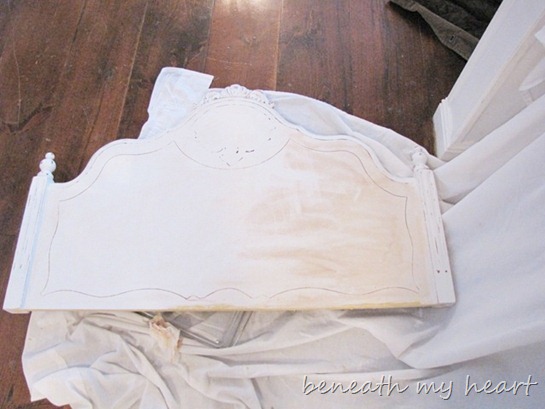
To get a more “aged” look, I like to cover my white paint with my favorite glaze, Valspar “Mocha”.

I used a paper towel to cover the headboard with the glaze.
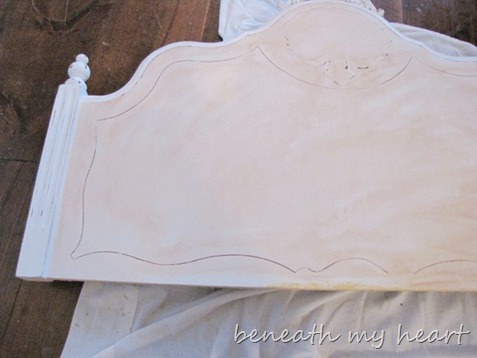
Then I used a damp paper towel to wipe it right back off. (See left side of headboard.) I love the way the glaze got in the “groves” on the headboard and brought out so many of the details.
Now I needed to attach my hooks. I found these cute little hooks at Hobby Lobby for half off. I bought 3 hooks for $1.50 a piece. Total=$4.50! I also got these wood screws at Lowe’s for a buck or two.

I attached the hooks with the wood screws.

As you can see, the silver screw does not look very good with my black hook, so I got a little black paint and dabbed it on the screw.

Perfect!

I bought some heavy duty mirror hangers at Lowes to mount the headboard on the wall. They were a dollar a piece.

Now I did make the headboard by myself, but my hubby helped me hang it on the wall. It was very heavy (like a large mirror). When you are hanging something this heavy, you need to make sure that you hammer the nails into the studs in the wall. My husband insisted he help me with this part, which was fine by me. We found the studs in the wall and measured the distance between them. Then we attached the hangers on the back of the headboard the same distance apart.

We hung it on the wall and I feel in love. It’s exactly what I wanted. But I am bummed at how my pictures turned out. There is no window in the bathroom, so I had no natural sunlight in which to take the pictures. Notice the beautiful natural light right outside the bathroom.

This is a piece of the bedroom furniture that I painted this summer. I’m storing the towels and blankets in there. I found the adorable locker room basket at a yard sale for $5.00. It’s perfect for storing the little wash cloths. My sweet mother-in-law bought me these new white towels for our guest house. Now into bathroom…
![IMG_5140[4] IMG_5140[4]](http://www.beneathmyheart.net/wp-content/uploads/2012/02/IMG_51404_thumb1.jpg)
I love the way the towel rack turned out. (Though I don’t think these pictures show it’s true beauty. My walls are a pretty tan, not mustard yellow!)
![IMG_5120[5] IMG_5120[5]](http://www.beneathmyheart.net/wp-content/uploads/2012/02/IMG_51205_thumb.jpg)
I loved this project because it was a little “out of the box” for me, which made it tons of fun. And it brings the uniqueness I was looking for in a towel rack.
![IMG_5124[5] IMG_5124[5]](http://www.beneathmyheart.net/wp-content/uploads/2012/02/IMG_51245_thumb.jpg)
Now I still have the footboard…hmmm….
Thanks for letting me share the project with you, and I hope you come see me sometime at
Beneath My Heart!


I absolutely adore what you did with the headboard! I have a half moon queen size headboard that my neighbor gave me (he knows I will figure out any creative way to salvage items). So, I upholstered the frame and stenciled a chandelier image and stuck it behind my sofa. It looks great and fills the space on such a large wall without overpowering the room.
ReplyDelete